

DIY Termite Treatment: How to Treat Termites Yourself
You've spotted mud tubes along your foundation or found wings scattered near a windowsill, and now you're wondering if you can handle this without paying what a professional termite treatment costs. DIY termite treatment is possible for small, early-stage infestations, and plenty of Mesa homeowners try it before calling in help. The catch is knowing which products actually work on the drywood and subterranean termites common in Arizona, and which ones just waste your weekend.
This guide walks you through the real options: liquid termiticides you can apply around your foundation, bait stations you place in the yard, and borate treatments for exposed wood. We'll cover what each method actually kills, how long it takes to see results, and where do it yourself termite treatment falls short against a colony that's already spread into your walls or structural beams.
We'll also be straight with you about the limits. Arizona's heat and soil conditions make termite colonies aggressive, and a termite treatment for home use often only addresses the visible problem, not the nest driving it. By the end, you'll know exactly when a DIY approach makes sense and when it's time to bring in a licensed termite control team in Mesa like ours instead.
Is DIY termite treatment right for your home?
Before you buy a single product, be honest about what you're dealing with. DIY termite treatment works best on small, contained problems: a single piece of damaged fence wood, an isolated mud tube on a patio slab, or a small drywood colony you caught early. It doesn't work well when termites have already tunneled through your foundation, spread into wall studs, or established multiple satellite colonies underground. The size and location of the infestation matters more than the product you choose.
Signs your infestation is still small enough to treat yourself
Grab a flashlight and a screwdriver and do a quick walk-around before you commit to a treatment plan. Look for these indicators of an early-stage, localized problem:
- Mud tubes limited to one section of foundation, less than a foot or two long
- Wood that sounds hollow but hasn't crumbled or collapsed
- A single swarm event with a small number of discarded wings
- No visible damage inside living areas or near load-bearing beams
- The affected wood is exterior, exposed, or easy to access (fencing, sheds, deck posts)
If your findings match most of these, a diy termite treatment approach has a real shot at working. If you're seeing damage in more than one room, sagging floors, or termites in multiple structures on your property, skip ahead to the section on calling a professional.
DIY vs. professional treatment: what actually gets solved
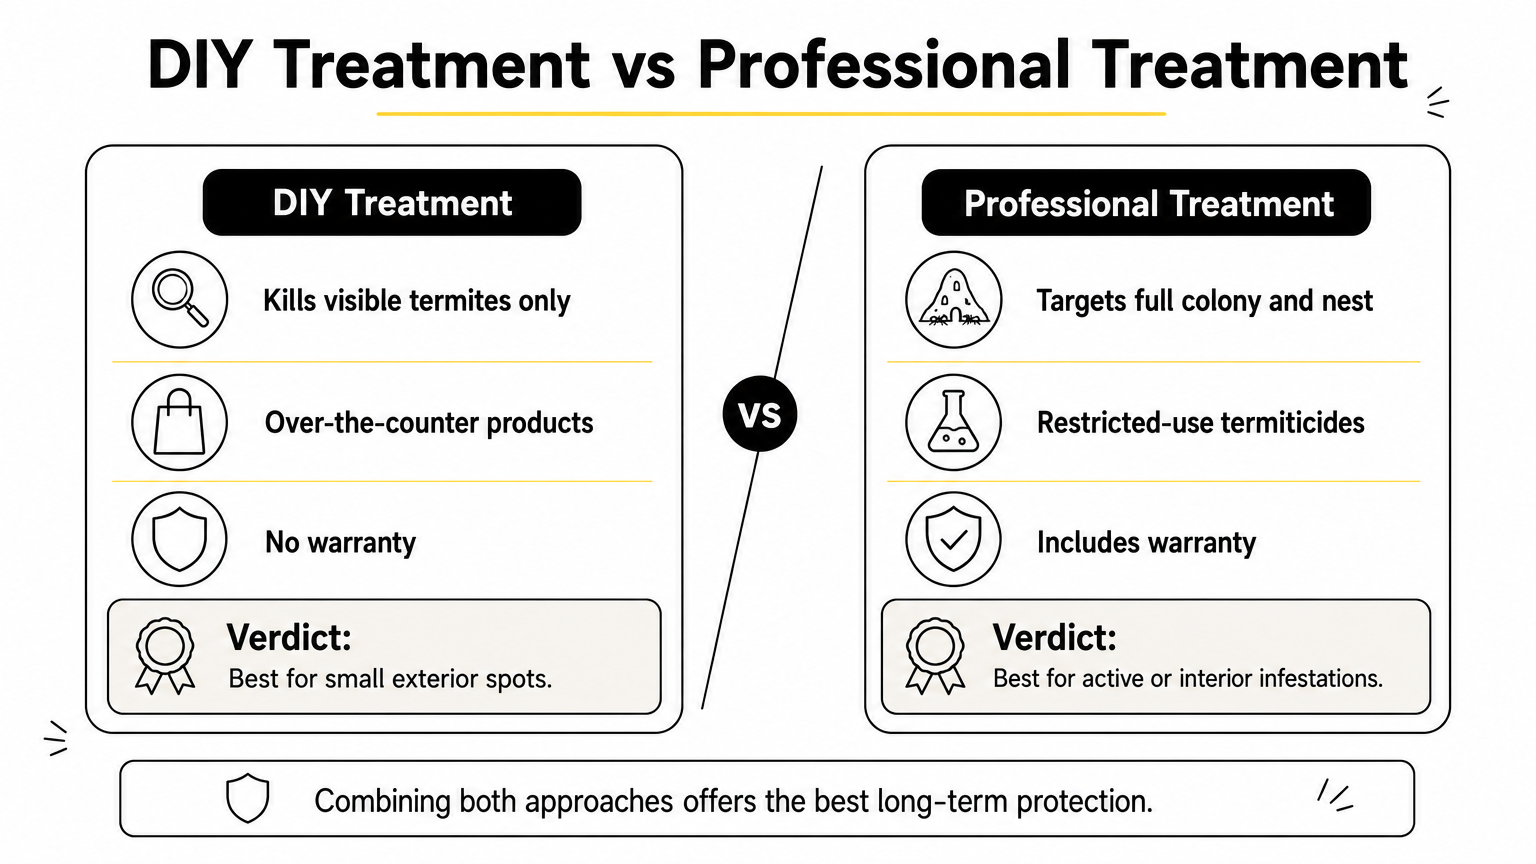
Homeowners often assume killing visible termites means the problem is gone. It rarely does. Termite colonies can house tens of thousands of workers, and store-bought products typically reach only the insects that come into direct contact with them.
A DIY treatment can kill the termites you can see, but it almost never reaches the colony you can't.
| Factor | DIY Treatment | Professional Treatment |
|---|---|---|
| Colony elimination | Unlikely, targets visible activity only | Targets nest and full colony |
| Best for | Small, isolated, exterior wood damage | Any active infestation, especially interior |
| Product access | Over-the-counter, weaker concentrations | Restricted-use, higher-strength termiticides |
| Warranty/guarantee | None | Often included with service |
| Time investment | Multiple weekends, ongoing monitoring | Handled in one to two visits |
| Cost | $50 to $300 in materials | Varies by property size, includes labor and follow-up |
Arizona conditions change the math
Mesa and the greater Phoenix area deal with both subterranean and drywood termites, and our soil and climate make colonies more aggressive than in cooler regions. Subterranean termites here build extensive tunnel networks searching for moisture, which means a barrier treatment around your foundation needs to be continuous and precise, one gap and they'll find it. Drywood termites, more common in older wood framing and furniture, don't need soil contact at all, so surface treatments won't touch colonies already established inside a beam.
Given these conditions, ask yourself three questions before starting: Can you identify the termite species correctly? Can you physically access every point of entry? Are you prepared to reapply treatments and monitor for months? If you answered no to any of these, DIY termite treatment will likely delay a bigger repair bill rather than prevent one. If you answered yes to all three, the steps below will get you started the right way.
Step 1. Identify the termites and inspect the damage
Getting the species right matters more than any product decision you'll make later. Subterranean and drywood termites behave differently, live in different parts of your structure, and respond to different treatments, so guessing wrong wastes weeks and money. Before you buy anything for termite treatment for home use, spend an hour confirming exactly what you're dealing with and how far it's spread.
Subterranean vs. drywood: know the difference
Each species leaves distinct evidence, and matching what you find to the table below, or to an insect identifier and pest guide, tells you which treatment category to shop for.
| Clue | Subterranean Termites | Drywood Termites |
|---|---|---|
| Nest location | Underground, connects to structure via mud tubes | Inside the wood itself, no soil contact needed |
| Damage pattern | Follows moisture, often near foundation and slab | Scattered galleries, can appear in furniture or framing |
| Droppings | Mud-like, packed into tunnels | Small, hard, pellet-shaped (frass) piled beneath wood |
| Swarm timing | Spring, after rain | Warmer months, often at dusk |
| Wing shedding | Wings same size, shed near foundation | Wings same size, shed near indoor light sources |
Grab a screwdriver and probe any suspicious wood. Subterranean damage tends to look layered, following the grain, while drywood galleries cut across it in a rougher pattern.
Treating the wrong species with the wrong product is the single most common reason DIY termite treatment fails.
Map the damage before you buy anything
Once you know the species, walk your entire property and log every point of activity, not just the spot that caught your attention first. Missing a second entry point is how a termite diy treatment plan looks successful for a month, then fails.
- Check the foundation perimeter for mud tubes, especially near AC units and hose bibs where moisture collects
- Inspect fence posts, deck supports, and any wood-to-soil contact
- Tap wall studs and baseboards near windows and doors for hollow spots
- Look inside attic framing and eaves for frass or discarded wings
- Photograph and date every location so you can track changes over the coming weeks
Sort what you find into two piles: exterior, exposed wood you can treat directly, and anything inside wall cavities or under the slab. That second pile changes your options significantly, and it's the deciding factor in the next step.
Step 2. Choose the right termite treatment product
Once you know your species and where the damage sits, the product aisle gets a lot less confusing. Every best diy termite treatment option falls into one of three categories: liquid termiticides for soil barriers, bait stations for ongoing monitoring, or borate-based treatments for exposed wood. Picking the wrong category for your situation is almost as costly as picking the wrong species identification, so match the product to the job before you check out.
Matching products to your infestation type
Liquid termiticides containing fipronil or bifenthrin create a chemical barrier in soil around your foundation and work best against subterranean termites actively tunneling toward your home. Bait stations, placed in the ground every ten to twenty feet along the perimeter, rely on foraging workers carrying slow-acting toxicant back to the colony, and they suit homeowners who want long-term monitoring more than an immediate kill. Borate solutions, brushed or injected directly into exposed wood, work well on drywood termites and any wood-to-soil contact points like fence posts or deck supports, since borates soak into the fibers and remain toxic to termites feeding on that wood for years.
Buy the product that matches your termite species and location, not the one with the biggest warning label.
| Product Type | Best Against | Application Area | Typical Active Ingredient | |---|---|---| | Liquid termiticide | Subterranean | Soil around foundation | Fipronil, bifenthrin | | Bait stations | Subterranean | In-ground perimeter placement | Hexaflumuron, noviflumuron | | Borate treatment | Drywood, wood-contact | Exposed wood, framing, posts | Disodium octaborate tetrahydrate |
Check the label before you buy
All termiticides sold in the US go through EPA registration, and the label tells you exactly what it's approved to treat, how much to mix, and how close you can apply it to a structure's foundation. Confirm the EPA registration number matches what's printed on the product, and read the reentry interval so you know how long to keep kids and pets away from treated soil. Skipping this step is how homeowners under-dilute a product and end up with a barrier too weak to stop foraging termites, which defeats the entire point of a termite treatment do it yourself approach in the first place.
Step 3. Prepare your home and gear before treating
Before you crack open a container of termiticide, spend twenty minutes getting your gear and your property ready. Rushing this step is how homeowners end up with chemical burns, patchy coverage, or a barrier that misses a foundation gap entirely. Termite treatment diy projects fail more often from sloppy prep than from bad products, so treat this like a job site, not a weekend chore.
Gear up before you mix anything
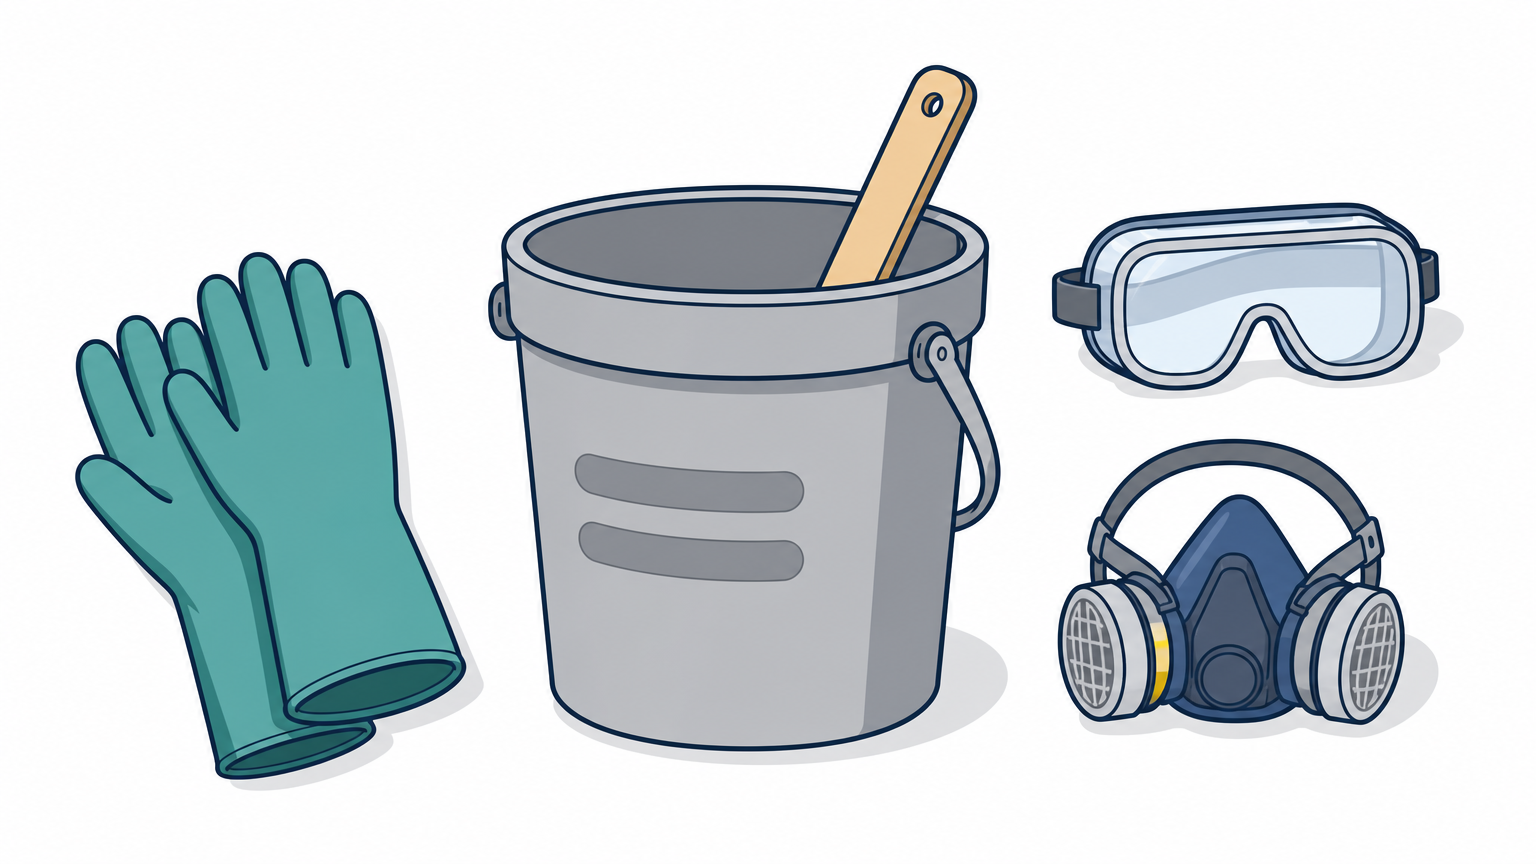
Most liquid termiticides and borate solutions carry warnings for skin and eye contact, and some are corrosive to bare hands after prolonged exposure. Pull together this list before you open anything:
- Chemical-resistant gloves, nitrile or neoprene, not latex
- Safety goggles, not just glasses
- Long sleeves and pants you don't mind tossing afterward
- A respirator rated for pesticides if you're drilling into wood or working in an enclosed crawlspace
- A dedicated mixing bucket and stir stick you won't reuse for anything else
- A garden sprayer or injection tool sized for the product you bought
Skipping the respirator is the most common shortcut homeowners take, and it's the one that causes the most complaints afterward.
Prep work you can't see, gloves, ventilation, a clean mixing area, is what separates a barrier that holds from one that fails in six months.
Clear the work area and protect what matters
Walk the treatment zone and move anything you don't want soaked in chemical runoff: potted plants, kids' toys, hoses, and pet bowls all need to come off the perimeter for the day. Cover nearby vegetable beds or ornamental plants with tarps if you're treating soil within a few feet of them, since some termiticides aren't selective about what roots they touch. Trim back mulch, grass, or landscaping fabric along the foundation so the product reaches bare soil instead of getting absorbed by organic material first.
Once the area's clear, log your plan before you start applying anything. A simple written record keeps your do it yourself termite treatment organized and gives you something to compare against if activity resumes later:
 Date: ___________
Product + EPA reg. number: ___________
Dilution ratio used: ___________
Linear feet treated: ___________
Weather conditions: ___________
Areas covered (list): ___________
With gear on and the site cleared, you're ready to actually apply the product.
Step 4. Apply a liquid termiticide barrier or bait stations
With your gear on and the perimeter cleared, it's time to actually get product into the ground. Liquid termiticide barriers and bait stations both target subterranean termites, but they work in different ways and demand different techniques, so follow the method that matches the product you bought in Step 2.
Trenching and applying a liquid barrier
Dig a trench roughly six inches deep and six inches wide along the entire foundation, keeping it as close to the concrete as your product label allows. Mix the termiticide exactly to the ratio printed on the label, since under-diluting weakens the barrier and over-diluting wastes product without added benefit. Pour or spray the mixture into the trench in a continuous line, working in short sections so you don't lose track of coverage, then backfill with the soil you removed. Pay extra attention to corners, utility penetrations, and any spot where a slab meets a porch or patio, since these seams are where best diy termite treatment attempts most often leave gaps.
A barrier is only as strong as its weakest foot, one untreated gap gives the whole colony a way back in.
Setting up bait stations
If you went the bait route instead, install stations every ten to twenty feet around the structure, driving them into the soil until the cap sits flush with the ground.
 Station spacing: 10-20 ft along perimeter
Depth: flush with soil surface
Check interval: every 4-6 weeks
Record: activity present/absent, bait consumed (yes/no)
Check each station on a set schedule and log what you find. Consumed bait means foragers are active and carrying toxicant back to the nest, which is the entire point of this slower method.
Give it time before judging results
Quickly assuming a treatment failed is a common mistake. Liquid barriers can take two to four weeks to fully affect a colony as termites tunnel through treated soil, and bait stations often take longer since they rely on foraging patterns you can't control. Reapplication is normal, not a sign of failure, particularly along stretches of foundation with heavier moisture or looser soil. Track every application date and location using the log from Step 3, since that record is what tells you whether activity is actually declining or just moving to a spot you haven't treated yet.
Step 5. Treat termites hiding in walls and wood
Once the perimeter's handled, the harder problem is what's already inside your walls or framing. Drywood termites don't need soil contact, so a barrier around your foundation won't touch a colony living in a wall stud or attic rafter. This is where a lot of best do-it-yourself termite treatment attempts stall, because reaching wood you can't see requires drilling, injecting, or foaming directly into the galleries themselves.
Drilling and injecting borate foam
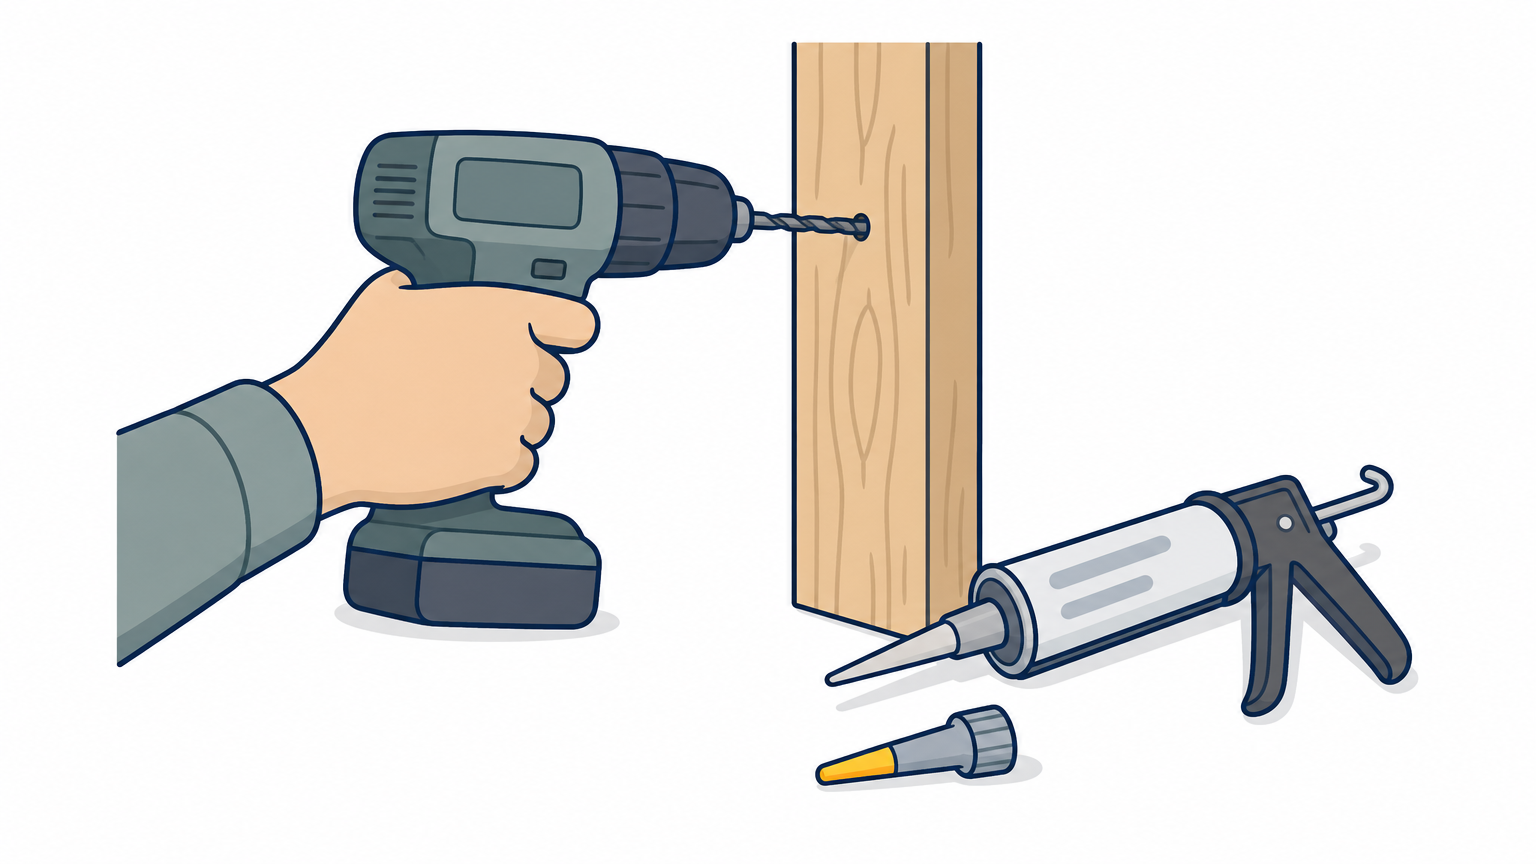
Start by tapping along suspect studs and baseboards to find hollow sections, then drill small holes, roughly quarter-inch, every twelve to sixteen inches along the damaged run. Inject a borate-based foam or liquid concentrate directly into each hole using a caulking-style applicator, giving the product time to expand and travel through the galleries before you patch the holes with wood filler.
 Drill spacing: every 12-16 in along damaged section
Hole size: 1/4 in
Product: borate foam or injectable concentrate
Injection depth: fill until foam surfaces or resistance felt
Patch: wood filler once treated area is dry
Termites hiding inside a wall stud won't die from a barrier around your foundation, you have to reach the wood directly.
Treating furniture, trim, and accessible framing
For smaller pieces like fence gates, window trim, or furniture, you can skip drilling entirely and brush a liquid borate solution straight onto exposed surfaces, letting it soak in for several coats. This works well on wood you can fully expose but does nothing for galleries buried deeper than the surface can absorb, so it's really a treatment for lightly damaged or newly infested pieces rather than a full termite treatment do it-yourself fix for structural framing.
Know where injection reaches its limit
Be realistic about what injection and foam can actually accomplish. These products treat the wood you drill into and a few inches around each hole, but they don't reach a satellite colony tucked behind drywall, inside a header beam, or under insulation you can't access without demolition. If tapping reveals hollow sound spreading across multiple studs or into a load-bearing beam, that's a signal the infestation has outgrown what drilling and foam can fix, and it belongs in the next section instead of another weekend of patchwork.
Step 6. Monitor results and prevent reinfestation
After you've applied a barrier, set bait stations, or injected foam into damaged studs, the work isn't finished. Termite treatment for home use only pays off if you keep checking activity for months afterward, since a colony that seems dead can resurface once seasonal moisture shifts or a treated area breaks down. Treat this stage as ongoing maintenance, not a final step you check off and forget.
Build a monitoring routine you'll actually keep
Set calendar reminders now, because "I'll check next week" turns into three months fast. Walk the same spots you logged in Step 1 and Step 3, and note anything that's changed:
- Recheck bait stations every 4 to 6 weeks for consumed bait or new mud packed inside
- Inspect the foundation trench line monthly for fresh mud tubes crossing the treated soil
- Tap drilled studs and patched holes every few weeks for new hollow spots nearby
- Photograph problem areas on the same schedule so you can compare against your original log
- Watch for a second swarm season, since one swarm surviving means the colony is still active
A treatment that looks successful after two weeks can still fail by month three, so keep checking long after you think you're done.
Read the warning signs early
Fresh mud tubes rebuilding across a treated trench, new frass piling under wood you already injected, or a swarm indoors months after treatment all point to the same conclusion: the colony survived somewhere your product didn't reach. Don't wait for visible structural damage to act on these signs, since diy termite treatment failures compound quietly behind walls long before you'd notice from the outside.
Remove what invites termites back
Prevention matters as much as the treatment itself. Fix leaking hose bibs and AC condensation lines that keep soil damp near your foundation, since moisture is what draws subterranean colonies back in the first place. Pull mulch and soil back a few inches from siding, keep firewood and lumber stacked off bare ground, and reseal any wood-to-soil contact points you find during your walkthrough. Small habits like these often decide whether your termite diy treatment holds for years or needs redoing next season.
When it's time to call in a pro
Some signs mean you're past the point where drilling and barriers help. Structural damage spreading across multiple studs, activity in more than one part of the house, or termites returning after two full treatment cycles all point to a colony that's outgrown what a homeowner can reach with a garden sprayer and a caulking gun. At that stage, a licensed treatment with restricted-use termiticides and warranty coverage stops the guessing and gets you an actual guarantee the colony is gone.
DIY termite treatment can save you money on a small, isolated problem, but it's not a substitute for a real inspection once termites reach your framing or foundation. Mesa's soil and heat give colonies every advantage, and a missed gap in your barrier just buys them time. If your walkthrough turned up more than a single localized spot, get a free estimate on termite inspection and extermination in Mesa from Polite Pest Co. before the damage bill grows.